Introduction
Gimkit is a classroom quiz game built by students, where learners answer questions to earn in-game money and power-ups. Teachers across the United States use it for review lessons because it keeps students engaged. If you are a teacher, this Gimkit host guide shows you how to start a live game in minutes, and if you are a student, it shows you how to join.
We will cover choosing a kit, picking a game mode, adjusting settings, sharing the code and fixing common problems.
- Teachers host games from their Gimkit dashboard.
- Students join at gimkit.com/join with a game code.
- Games can also be joined by QR code or link.
Table of Contents
What Is Gimkit Host?
Gimkit host means starting a live game from a kit, which is a set of questions. When you host, Gimkit creates a game code that students use to join. As the host, you control the game mode, settings, start time and end time.
Gimkit is an independent education platform. This article is an independent guide and is not affiliated with Gimkit.
- Kit: your set of questions and answers.
- Game mode: the style of game students play.
- Game code: the code students enter to join.
How Does Gimkit Host Work?
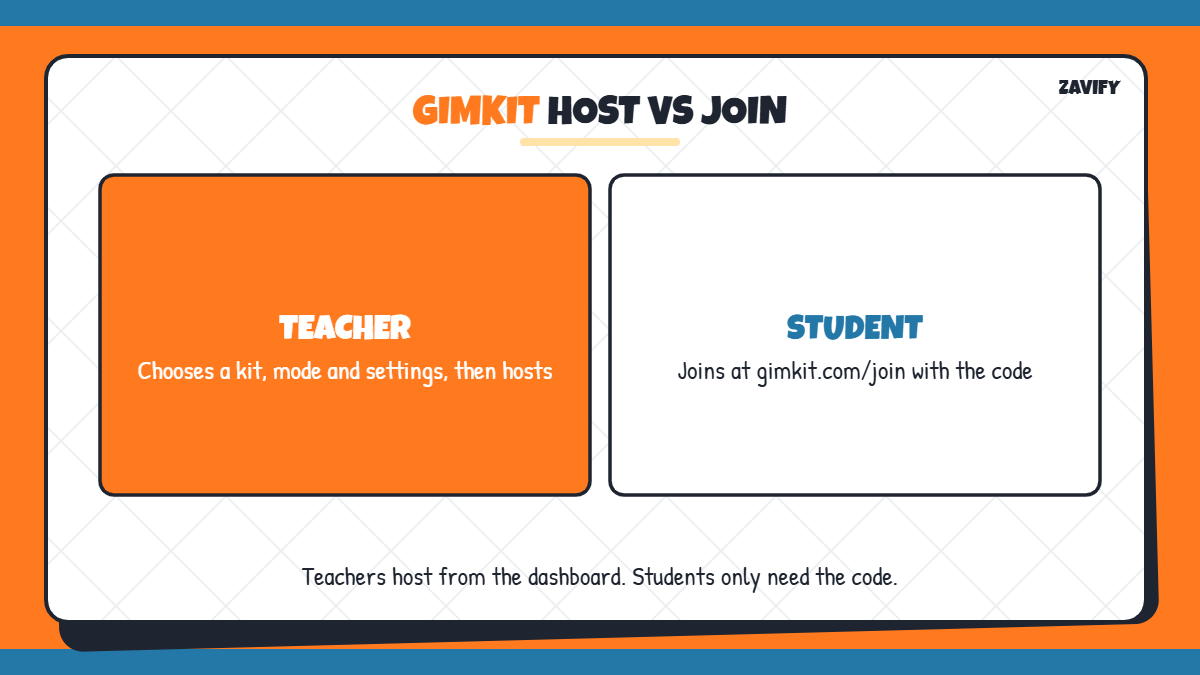
Here is a quick overview of the Gimkit host and join process:
| Role | What You Do | Where |
|---|---|---|
| Teacher | Choose a kit and click Play Live | Gimkit dashboard |
| Teacher | Pick a mode and settings | Mode Picker |
| Teacher | Share the code, QR or link | Host screen |
| Student | Enter the code and a name | gimkit.com/join |
Now let us walk through the Gimkit host process step by step.
1. Log In to Your Teacher Account
Sign in to Gimkit with your teacher account. Your dashboard shows all the kits you have created or copied from the community.
2. Choose or Create a Kit
Select an existing kit or create a new one by typing questions, importing from a spreadsheet or copying a public kit. Check the answers carefully before you host, because students will learn from them.
3. Click Play Live
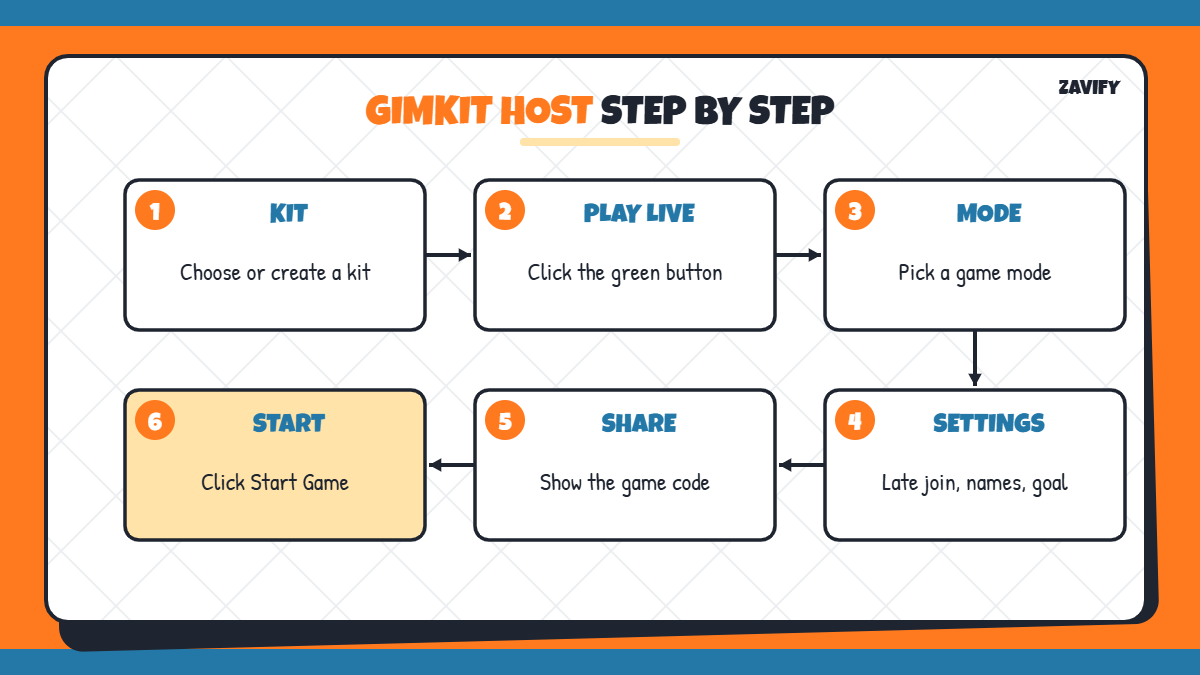
Open the kit and click the green Play Live button. This starts the Gimkit host setup and opens the Mode Picker.
4. Pick a Game Mode
Browse the Mode Picker and choose a mode that suits your lesson. Some modes are competitive, some are team-based and some reward strategy. Start with a simple mode if your class is new to Gimkit.
5. Adjust the Game Settings
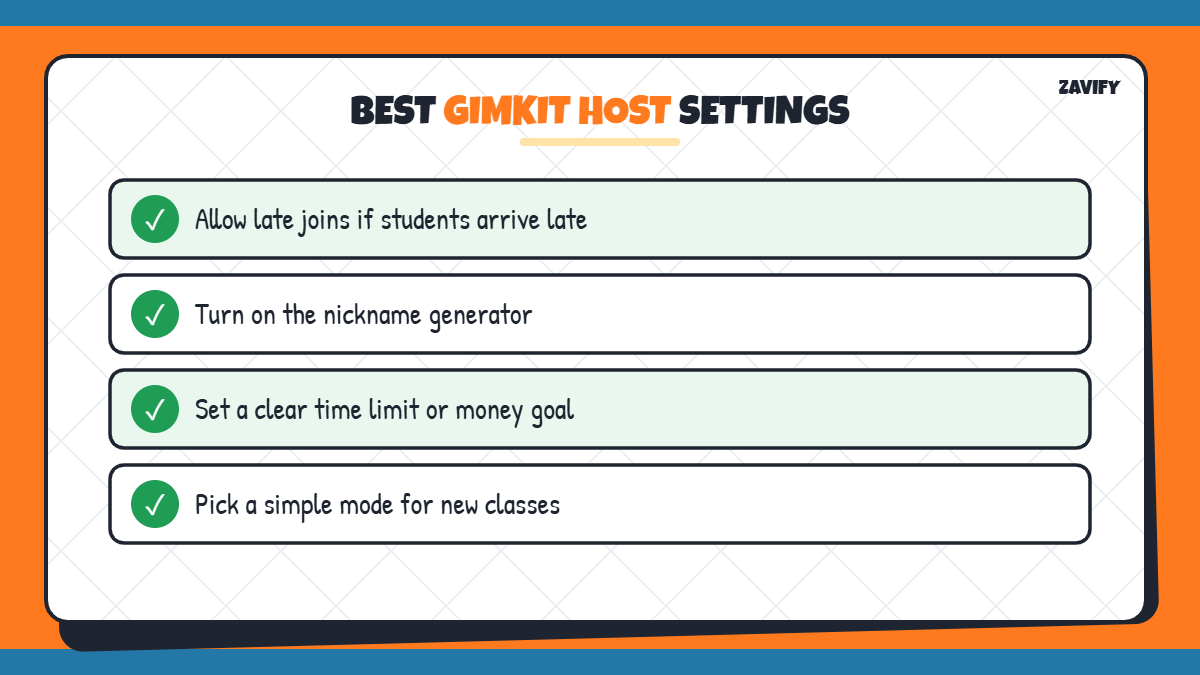
Before starting, set your options, such as allowing late joins, turning on the nickname generator and choosing a game goal like a time limit or money target. The nickname generator helps prevent inappropriate names.
6. Share the Game Code
Your host screen now shows a game code, a QR code and a join link. Display it on the projector or paste the link into your class chat or learning platform.
7. Students Join at gimkit.com/join
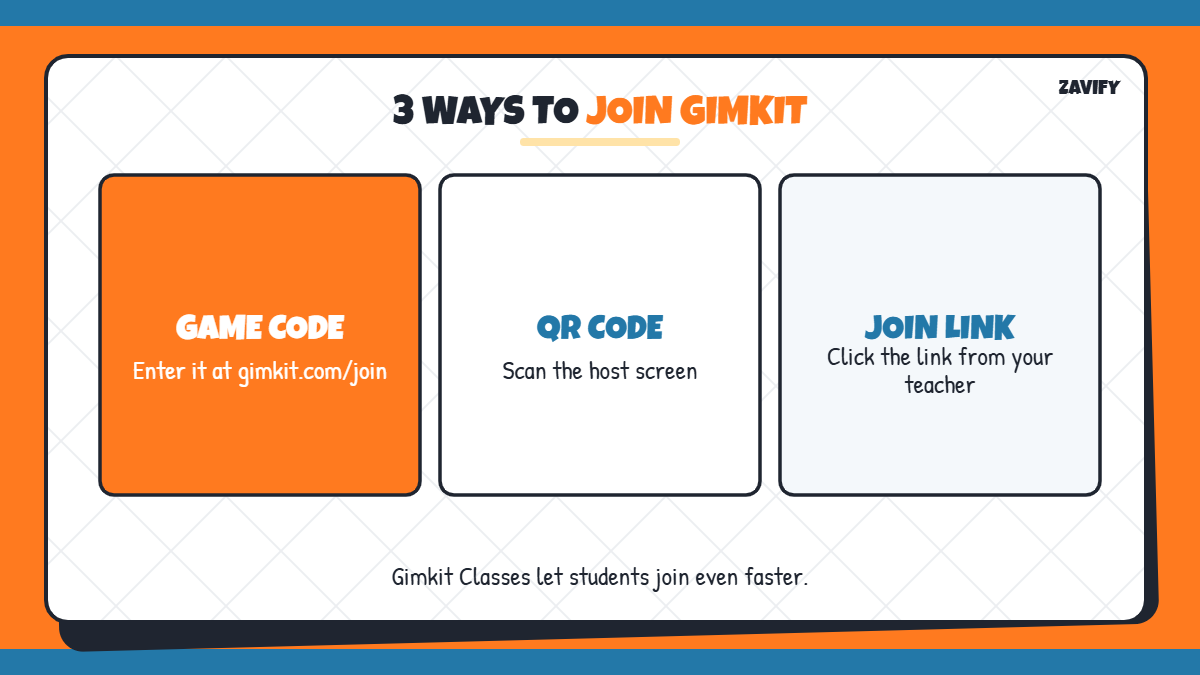
Students open gimkit.com/join, type the game code and enter their name. They can also scan the QR code or click your link. If you use Gimkit Classes, students in your class can join instantly.
8. Start the Game
When all students appear on your screen, click Start Game. During the game, use the controls in the upper right corner to adjust volume, show the leaderboard and monitor players.
9. End the Game and Review Results
The game ends automatically when the goal is reached, or you can click End Game. Afterwards, review the reports to see which questions students found hardest and plan your next lesson.
Popular Game Modes to Try as a Gimkit Host
The Mode Picker offers several styles of play, and the right choice depends on your class and lesson goal. Classic modes let each student earn money individually by answering correctly, which is ideal for quick review. Team modes group students together so stronger learners support others. Strategy-based modes add extra decisions, which older students often enjoy. As a new Gimkit host, start with a classic mode, then try team and strategy modes once your class understands the basics.
- Classic modes suit short review sessions.
- Team modes build cooperation.
- Strategy modes keep older students engaged.
Gimkit Host vs Assignments
Live games run in real time while you host. Gimkit also lets teachers set assignments that students complete on their own before a due date. Use a live Gimkit host session for energy in class, and assignments for homework and independent practice.
Tips for a Great Gimkit Host Session
A little preparation makes your game run smoothly and keeps the focus on learning:
- Keep kits to 15 to 30 clear questions.
- Turn on the nickname generator for younger classes.
- Explain the game mode before starting.
- Use the results to reteach difficult topics.
How to Fix Gimkit Join Problems
If students cannot join, try these quick fixes:
- Check the game code is typed correctly.
- Make sure the game has not already started without late join.
- Refresh the page or try another browser.
- Check that your school network allows Gimkit.
Common Mistakes When Hosting Gimkit
New teachers often run into these avoidable problems:
- Starting before all students have joined.
- Using kits with unchecked or wrong answers.
- Choosing a complex mode for a first game.
- Forgetting to set a clear time or money goal.
- Not reviewing the results after the game.
Frequently Asked Questions
How do I host a Gimkit game?
Log in, open a kit, click Play Live, choose a game mode, adjust the settings and share the game code with students.
Where do students join a Gimkit game?
Students go to gimkit.com/join and enter the game code, or scan the QR code shown by the teacher.
Do students need an account to join Gimkit?
Students can join a live game with a code and name. Gimkit Classes let teachers connect students for easier joining.
Can students join after the game starts?
Only if the teacher allows late joins in the game settings.
Is Gimkit free for teachers?
Gimkit offers a free plan with limited modes and a paid plan with more features. Check the official website for current plans.
Conclusion
Being a Gimkit host is simple: choose a kit, click Play Live, pick a mode, set your options and share the code. Students join at gimkit.com/join, and you control the game from start to finish.
Prepare clear questions, explain the mode and use the results to guide your teaching. For more ideas on learning with technology, read our guide on free vs paid study tools.